Showing posts with label vintage home decor. Show all posts
10.07.2014
Another Chair Transformation, Before and After
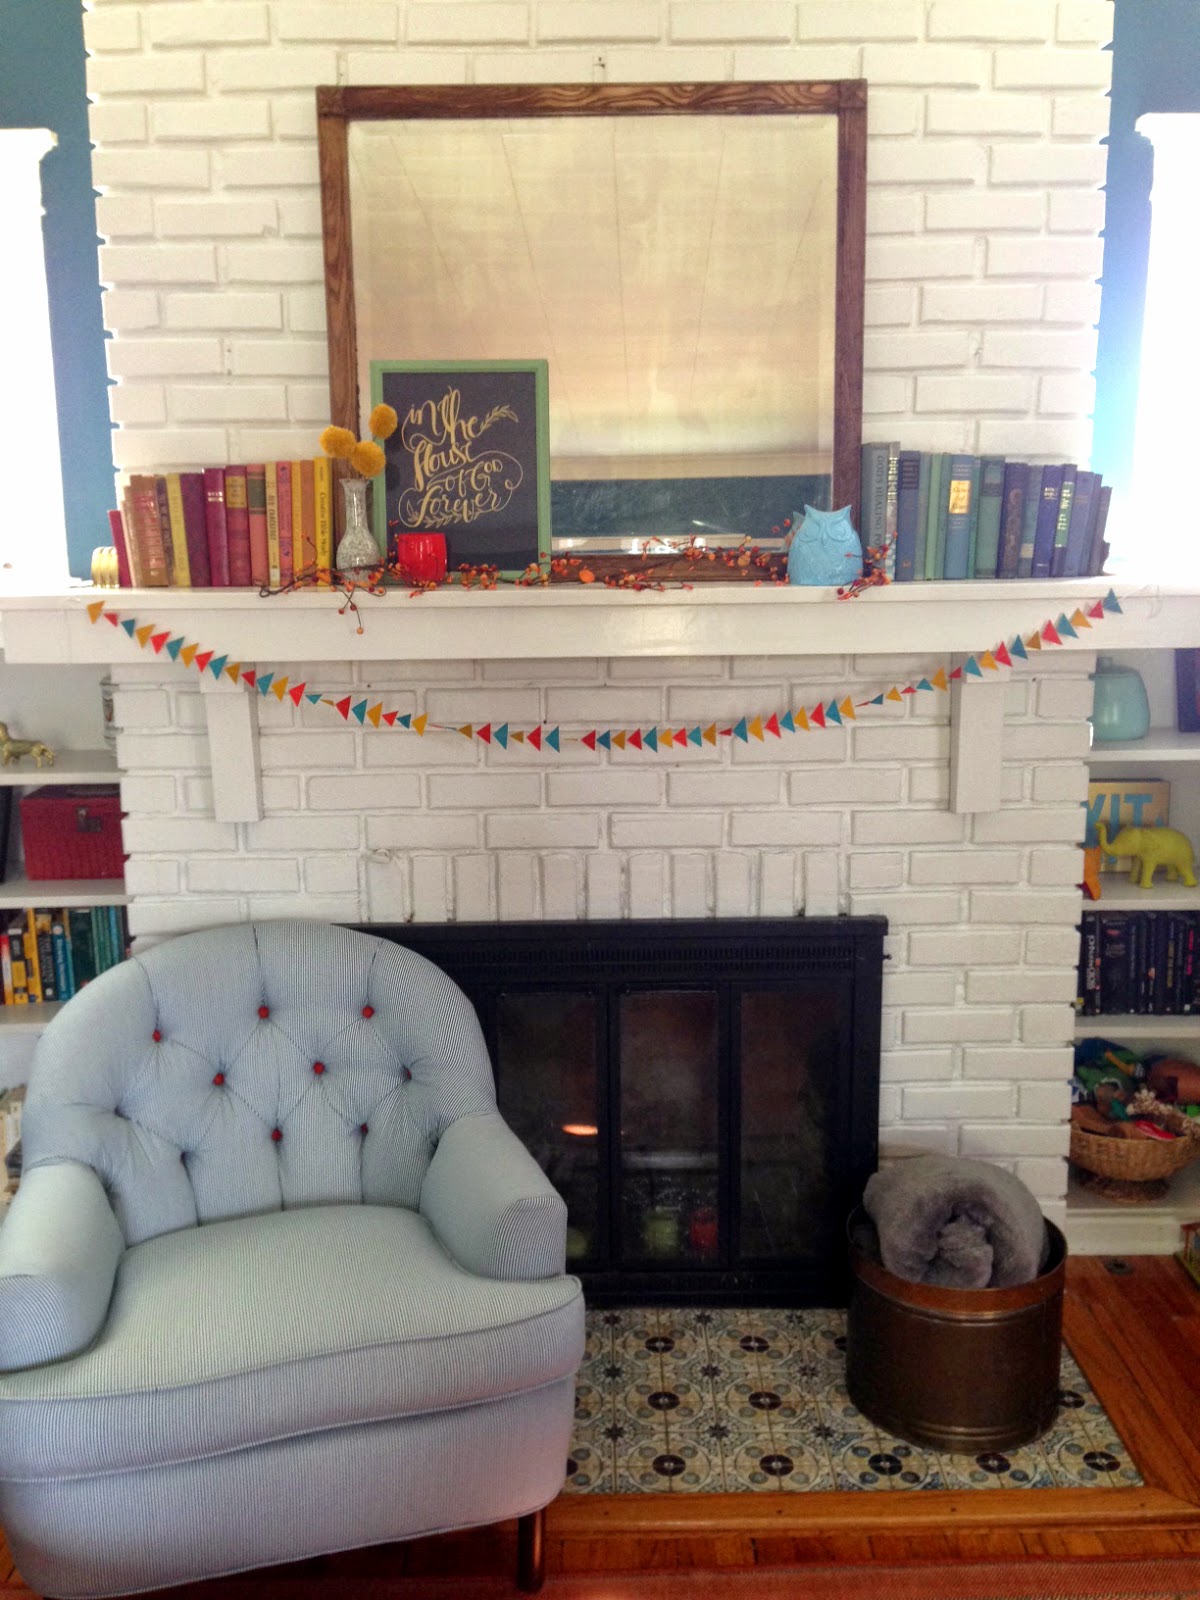
A few weeks back I shared about this chair makeover, mentioning there was another on the way. Well, friends. Here it is! The decision to use some of the solid orange fabric remnants left over from the first chair for the buttons was a total last minute decision and I'm really pleased with how it turned out. I'm a sucker for ticking stripe fabric and I love de-skirting cool chairs to show off their hidden, leggy beauty!
6.03.2014
5 Years
This past weekend we celebrated our 5th wedding anniversary by taking a little day trip to Northwestern Arkansas. A lot has kept us busy since we moved to Joplin a little over a year ago, namely a new old house in need of some serious TLC and the arrival of a new baby, so we haven't had the chance to do much exploring. We loaded up our little third wheel, Killian who was along the ride for the milk, and had a leisurely breakfast on the square in Bentonville, AR. We then went to the Crystal Bridges Museum of American Art-- a true, world-class gem, nestled in the Ozarks. The museum is fabulous and the grounds are gorgeous. We had planned to drive to Fayetteville from there, but we only had a sitter for Collin until 3pm, so we stopped off in Rogers, AR had a fantastic pizza lunch in the historic downtown area and visited an antique shop. I can't wait to do more exploring. It truly is a beautiful area and the rolling hills make for such a lovely drive.
Each year, on our anniversary, we have the tradition of buying a vintage bud vase. It's fun to hunt down something unique and special to commemorate one more year of God's goodness. People have asked if each one has a certain significance to it. Not really. We simply look for something that catches our eye. I love having a visual of our years together and can't wait to someday look at a collection of over fifty or sixty!
What about you? Do you have an anniversary, birthday or holiday tradition in your family?
5.29.2014
Paint by Number Murals
There is an artist in British Columbia, by the name of Bill Blair, who creates entire murals inspired by the 1950's Paint by Number kit creations. Here are a few examples of his work. I am completely in love with the look. It's approachable and kitschy and nostalgic and totally fun!
A bit of history, In 1951 Palmer Paint introduced the Craft Master brand which sold over 12 million kits. This public response induced other companies to produce their own versions of paint by number. The Craft Master paint-kit box tops proclaimed, "A BEAUTIFUL OIL PAINTING THE FIRST TIME YOU TRY." Following the death of Max Klein in 1993, his daughter, Jacquelyn Schiffman, donated the Palmer Paint Co. archives to the Smithsonian Museum of American History (Wikipedia).
There are a few bloggers who have tackled the same look in their homes. Up for the mammoth challenge? Check out their work here and here and here for inspiration and tips.
5.12.2014
Plants in the Bathroom
We're getting closer to bathroom completion and it's fun to start thinking about last minute touches. Since it will be such a light, bright room, it would be a shame not to include some greenery in there. The moisture in the air will be good for the plants and it will, undoubtedly, improve our air quality! I did a quick search on Pinterest and these images are my inspiration!
How cool are these fish scale planter tiles?
I think hanging plants are a good option for our bathroom since it's small and I'd rather not have things within reach of the boys. What do you think of plants in the shower? Kind of odd, but cool, no?
5.06.2014
Reupholstery Reveal- From Dowdy Tuffet to Chic Ottoman
Remember this fun little thrift store find?
Well, it has been completely transformed! The original plan was to reupholster it myself with fabric, but after seeing Collin smash graham crackers into the button holes and smush his runny nose into it a time or two, I decided a wipeaple fabric would be best.
I knew my lack of upholstery skill was no match for vinyl, so I called up a guy whom my friend recommended. He works at an upholstery shop, but also does jobs on the side from home. His pricing was very reasonable and the cost for two yards of marine vinyl was minimal.
I am so happy with the results! The next upholstery project will be one of the two current living room chairs. Still looking for reasonable, utility grade velvet for the chair pictured. Stay tuned!
P.S. If you'd like to see more current shots of our home's interior along with some interior design tips, I recently did an interview over at aannagreer.com, you can check it out here.
3.21.2014
Our Breakfast Nook Plate Wall
I have always loved plate walls. I think what I love most about them is their ability to bring such a wide array of color and pattern to a room for mere pennies. This summer I took some of the plates I had been collecting and started crafting our breakfast nook wall into a plate gallery of sorts. It's, of course, hard to know when to stop. If you are like me, there is always another opening/color needed/ pattern you are itching to throw up there.
I first blogged about the wall last summer, as my collection grew I had hoped to do an update sooner. I thought I would get it to exactly where I wanted, but alas, I have come to the conclusion that I will never feel it's done and I think my husband fears this plate wall will overtake the entire kitchen!
So, here is where it's at now.
I decided to make the plates cascade from right to left down the West wall of the kitchen. If you are planning on making a plate wall, you can also configure your pieces in a circle, diamond, square, haphazard cluster or even as a border around the perimeter of your room. The possibilities are endless and there really isn't a wrong or right way to make this kind of magic happen.
The plates are a mixture of new and vintage. My favorites are the jadeite and milk glass. You may recognize a few from Target. I love end-cap sales!
In case you are wondering, the Vintage Alphabet Splat Mat on the floor is by SugarBooger and our best attempt to contain toddler mealtime messes. We've had it for a few years and it works pretty well. You can purchase one here.
I used wall plate hangers like these to secure the plates where I wanted them and vinyl stick-on letters to create the Give Thanks plate as my focal point. It took me about seven tries to get the letter spacing right, but the great thing about stick on letters is that they are repositionable!
Some people are big into measuring and spacing plates equidistance apart, but I am more of a go with the flow kind of a person. In my summer blog post I shared about how I traced the plates on butcher paper and cut them out. This allowed me to play around with configurations till I found what worked best with our space.
I strived to have a good balance of warm and cool tones, new and old plates, floral and solid, big and small... you get the idea. You don't have to go crazy like I did. If you are a fan of a particular color or shape, concentrate on amassing a collection of similar plates. I've seen some absolutley stunning plate walls where the plates are all white.
Since our curtains (a favorite thrift store find) are dark blue, I made sure to have at least one or two plates in the same tone on the wall.
And so, that's our breakfast nook. I do so enjoy looking at my colorful plates every day!
8.02.2013
Our Dining Room and Living Room Reveal
Hi all,
It's been quite awhile since I've posted an update on here. With travel for a friend's wedding in Seattle, bouts of pregnancy tiredness and a growing social life (which is most certainly not a chore), we have been keeping busy. Life is good and little by little, Joplin is feeling more like home.
I thought I'd take the time to show you an update of some of our space, here at the beloved new, old house. Part of the reason I haven't posted full photos of these rooms sooner is because they have come together relatively slowly. Without much of a budget for major renovations or new furnishings, I've focused on finding the style/look for our little hodge-podge of a home in thrifty ways aaand being thrifty means hunting down bargains and visiting thrift shops over and over until you happen upon treasures!
While all of our furniture and decor was mostly present in previous homes, there have been a few additions and makeovers that are helping to make our living spaces flow together. Furthermore, if you've followed this blog for a while, you'll notice I've taken some bolder approaches in some the decor-- pushing past what feels safe to what is fun and what I truly enjoy (color, texture, pattern, bold, fun, vintage, eclectic style).
So, without further ado, here is our current dining room:
You may remember me saying we wanted to repaint this room. Well, the more and more I added, in the way of furnishings and color, the more I decided I actually liked having a black dining room. The trim/plate rails/box beams definitely need to be touched up with fresh white paint, but that will happen, I'm guessing, some time this fall.
This is the room that houses the majority of our new items in the house since we didn't have a dining room at our previous rentals. It's been great to have larger groups over and not have to crowd them around our kitchen table or eat off our laps, buffet-style in the living room.
Dining Room Trestle Table- Craigslist, Ethan Allen find for $150
Assorted Chairs- $5 a pop at a salvage yard
Chair Paint Color- Cool Lava by Behr
Curtains- Urban Outfitters
Light Fixture- School House Electric
Painting- Nick's Nana's artwork from the 50's
Candlesticks- Spray painted Ikea- here was a third one, but Collin broke it!
Indoor/Outdoor Rug- Ballard Designs (super-duper durable and easy to clean with kiddos)
Blue Lamp- $12 thrift store find
Then, we come to the second part of the room, the South wall, displaying my longtime pined after blue china cabinet! We found the cabinet in Arkansas at a barn sale for $80. There were several other cabinets on sale, but this is the only one Nick would, in good conscience, let me paint, since the wood wasn't anything special-- just your standard maple. I wish I had kept the paint swatch in order to share the color!
Below is a shot before we put the glass doors on, in case you wanted a better look at my china and knick knacks:
View into kitchen from dining room.
This is our new mail station/key holder/ command central spot. Nick puts his cell phone and wallet in this basket when he gets home. It's helpful in keeping stuff off the dining room table. The magnetic board is just a sheet of metal (can be purchase at the Home Depot), nailed into a sturdy frame. Easy!
Then, our living room. Up until two days ago, this room was still feeling disjointed to me. I knew that it needed something to pull it all together and tie it in with the dining room, but couldn't figure out what that was. Turns out, an awesome, wool trellis rug in a sweet shade of coral/rhubarb was just the ticket!
You'll notice the chipping paint on the mantle, but we kind of forget it's there. Eventually this will get re-painted! ;)
All of our furniture remains the same and there are a few new decor items,
Sofa- CB2 from Craigslist in Atlanta
Patterned Chair- $5 from an Atlanta thrift shop
Blue Mid-Century Chair- $10 from an estate sale
Tufted Chair- Purchased by Nick at an estate sale when he was single and working in Fresno, CA
(Thinking I want to reupholster this chair and remove the skirt to expose its ankles)
Boomerang Coffee Table- Found on the side of the road (see story of makeover here)
TV Stand/Buffet Cabinet- Given to my in-laws by a neighbor
Mirror- Salvation Army for $8
Mid-Century Classroom Pull-Down Map- $85 on Ebay
Further plans for this room?
- Removing the odd box, vertical bookcases around the windows. Those were a 1970's addition, we think, and not original to the house.
- Repainting. Color suggestions? What would flow well with the gray entryway (see photos of entryway walls in this post) and black dining room? The olive green sometimes looks too much like the color of baby poop and we'll need to repaint anyways after we take out the window boxes.
So, that's where things are at right now. I'm sure we'll make changes, but I'd love your input and ideas. Old houses are full of charm, but they are sometimes harder to decorate because, due to quirks, you're not working with a blank canvas!
Subscribe to:
Posts (Atom)